|
|
What do I do first? |
Menu |
Bookmark, Install, Set Up
Bookmark the URL
Go to the URL you were given and before you do anything else, bookmark the URL. We recommend putting the bookmark right into your browser Toolbar so you can get to it immediately.
Install the Plug-In

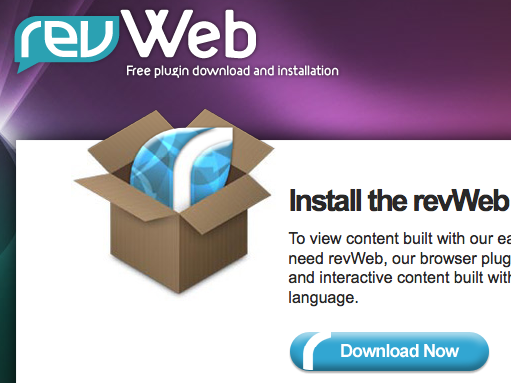
This version of 4 Spires makes use of a free custom browser plugin called revWeb. After you have bookmarked the site, click "Download Now".
Download the revWeb plugin
In the next screen, click the Download Now button.
Run the revWeb Installer
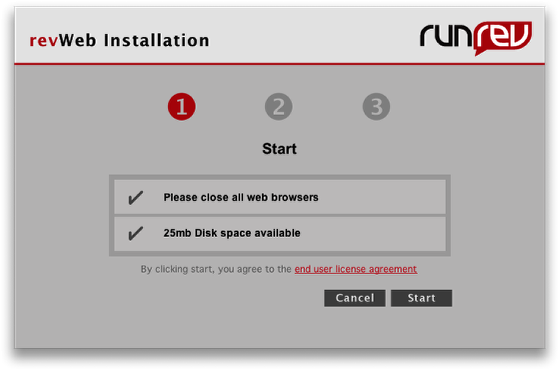
The installer writes two small files to your hard drive that enable your browsers to run 4 Spires. Click the Start button.
Finish the installation
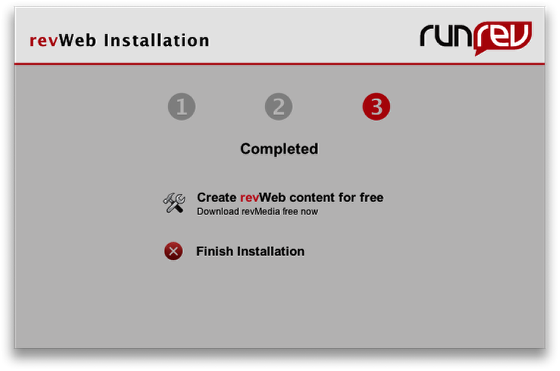
In the last dialog, click Finish Installation. You can now discard the installer program and launch your browser.
Return to 4 Spires
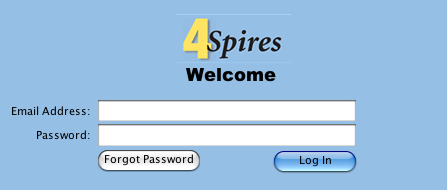
Using the bookmark you set up in the first step, return to the 4 Spires site. This time the plugin will load and you'll see the log in screen. Enter your email address and the password you've been given. Now you're ready to set your preferences.
Set your preferences

It is possible to just start in by creating a New Request, but typically you'll want to change your password and set up your other preferences. Click on Preferences / General.
Change your password
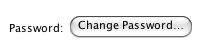
You may have received a temporary password which you will want to change so only you have access to your request data. Simply click the Change Password button to make that change. Then, let's set up your menus.
Setting menu preferences

There are four menu buttons in a New Request. In this step, you will tell the application what should be in those menus.
Choosing your People
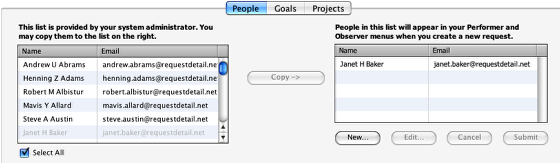
In the People preferences panel, you choose who will appear in your Performer and Observer menus. The list on the left may have been added by your system administrator, or it could be empty. Any names you add to the right-hand list will appear in both your Performer and Observer menu buttons. You can either copy names from the left side to the right, or click New to add someone not in either list. When you're done, click the Submit button to update the server. Then, let's look at the Goals menu.
Choosing your Goals and Projects
The Goals and Projects menu buttons are populated in the same way as your People menu buttons. Configure the Goals menu list the way you want it, then click Submit. Do the same for the Projects menu list. Once you have submitted your changes, you can click on New Request and make a request of one of the people in your Performer menu button. See "How do I make a New Request" for more information.